
This guide is copyright 2003-2005 by Jeffrey McDonald. All of the pictures, except for those that are noted, were taken by me. Nothing from this guide may be reproduced without my permission and without crediting me for the work. If you want to publish any information from this guide or host the guide on your website you must get my permission.
Before you can use the PSBBN install disc(s) you must properly connect the HDD to your PS2.
If you have a model 10000, 15000, or 18000 PS2 then you need an external HDD. That comes with a PCMCIA Card and an AC adapter. Turn off the main power for the PS2 using the power switch on the back of the PS2. Push the button on the back of the PS2 and a piece of plastic will be ejected from the PCMCIA slot. Put the PCMCIA Card in that slot, it should fit entirely inside the slot. The PCMCIA Card has an Ethernet plug and another plug. The PCMCIA Card is the equivalent of a Network Adapter. The other plug on the PCMCIA Card is when the plug from the HDD connects. Attach the HDD to that plug and set it somewhere where it won't be bumped and result in pulling the cord out of the PCMCIA Card or pulling the PCMCIA Card out of the PS2. Eithr of those two things happening while the HDD or the PS2 is on may result in damage to the HDD, the PCMCIA Card, and/or the PCMCIA slot on the PS2. Finally, plug the AC adapter into the HDD. Now turn on the PS2 and boot the PSBBN installation disc. If an error pops up when you boot the PSBBN install disc, you probably need to toggle the switch on the bottom of the HDD. It has two positions, one for slave and one for master. The error results in the HD being set to slave.
If you have any other PS2 other than the models mentioned above (i.e. any PS2 with an Expansion Bay) you need an internal HDD. In Japan that comes with a Network Adapter, everywhere else it doesn't look like it will since Network Adapters are sold by themselves in other regions. If you bought a Midnight Blue model 50000 PS2 with a BB Unit, the HDD has already been installed for you, but has not been formatted and has no software preinstalled. If you need to install the HDD yourself then keep reading. Turn off the main power for the PS2 using the power switch on the back of the PS2. Remove the piece of plastic covering the Expansion Bay, or your Network Adapter if you already have one. Look at the back of the Network Adapter and notice the two plugs on the bottom of the side that sticks inside the PS2 and plug the HDD into both of them. Slide the HDD with the Network Adapter attached to it into the Expansion Bay and tighten the screws on the Network Adapter to secure both devices to the PS2. Now turn on the PS2 and boot the PSBBN installation disc.
This should be the first thing you see after "PlayStation2" if the disc is booting properly, with the proper version number for your disc of course.
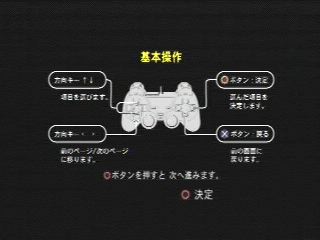
This is the next screen you will see. It just explains how to use the controller to make choices. The D-Pad chooses menu options and changes pages, Circle selects, and X cancels.
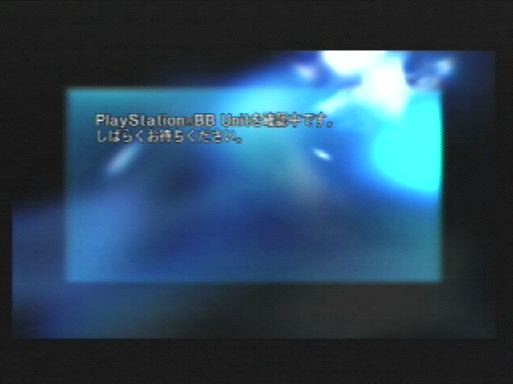
This will be the next screen if the HDD is not formatted for PSBBN. The install disc just jumps right to the Install option for PSBBN in this condition. It seems to be asking you to wait a moment while the program loads, If you have already installed PSBBN to the HDD then you will see a different screen next.
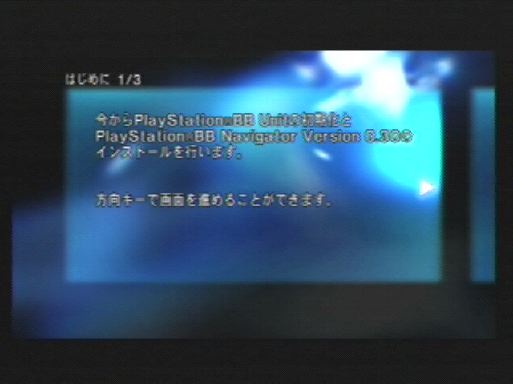
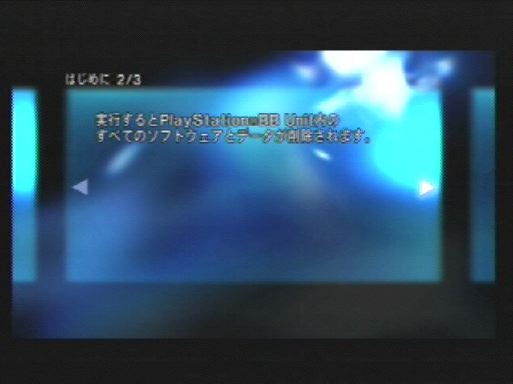
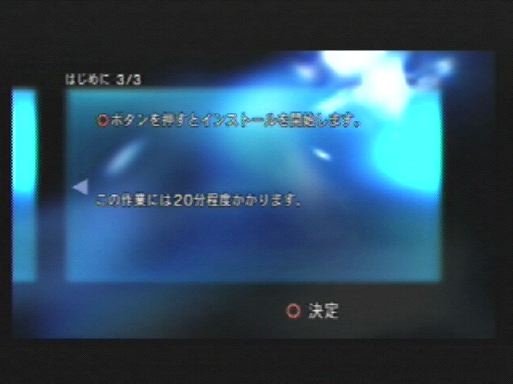
These are the next three screens (use the D-Pad to switch between them) that just pretty much say that they will format the HDD and install PSBBN. The whole process will take about 20 minutes. Press Circle on the third screen to start formatting and installation of PSBBN.
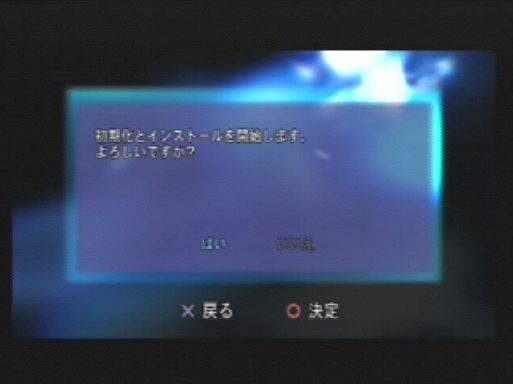
This is just asking for confirmation that you want to format the HDD and install PSBBN. The choices are Yes and No, respectively. Choosing yess will result in the screen asking you to wait a moment appearing again, followed by the next screen.


This shows the progress of the installation. It shows which step of the process it is doing right above the progress bar. The text above is the usual warning to not unplug the PS2 or the BB Unit while installation is in progress. PSBBN 0.30 has two parts to the installation process, and the progress bar resets for each part, so 100% on the bar the first time will just mean the first part is finished.
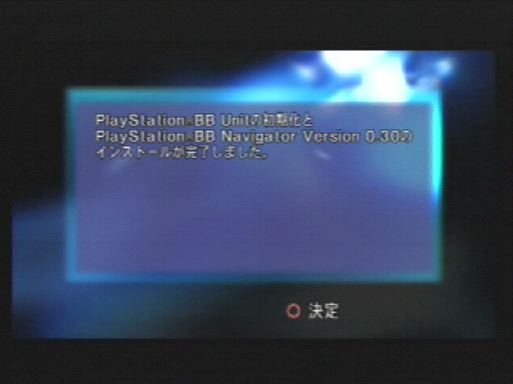
When installation is finished this screen appears. Press Circle for the next screen.

This screen is saying for you to remove all discs from the tray and to close the tray. Then press the Circle button and the system will reset and boot PSBBN from the HDD.